
It’s important you understand how to access the ARA Compliance System, as this is your portal into the critical documents, policies, and procedures you need as a repossession agent. Once inside the company or individual test portal, it’s important to review the study materials available, as each test is crafted to ensure your knowledge of the material. For your convenience, we put together a step-by-step guide to help you navigate your way through the compliance portal.
Step 1. Login Information
Do you have a login and password in order to gain access? If you don’t already have this information, please contact John Morgan by email at john@americanrecoveryassn.org or call him at (469)-212-0247. If you don’t remember your password, and yet remember the e-mail address associated with your account, you can still access your company profile.
Step 2. Gaining Access
You have one of two ways to enter your company’s compliance portal.
- Go to www.Repo.org. Find the top banner that reads “Compliance System”. Click the red tab to be taken to the login page.
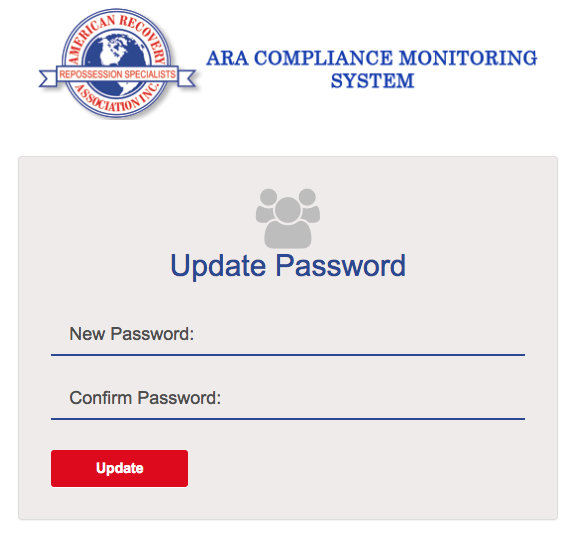
- Go to www.aramembercompliance.com this will take you directly to your login page. If you previously had a login and password and have forgotten your password, simply hit the “Request Password” box. You will be directed to a second page. You will be asked for either your User ID or e-mail address. Once you provide that information, you will be emailed instructions for resetting your password to gain access.
If you still have not obtained access into your Member Dashboard, please contact John.
Step 3. Review Your Information
Before you start taking your tests, we recommend you review all of your available documents. Please ensure you have all of your needed compliance documents. Also, you may want to simply add items like your company policies and procedures manual, clean desk policy, or your W9 information.
If you need to enter more documents, please look at the top right-hand side of the member dashboard for the Document Upload box. You can pull documents from your computer and send them directly to John. No need to clip and paste.
Step 4. Review Training Topics
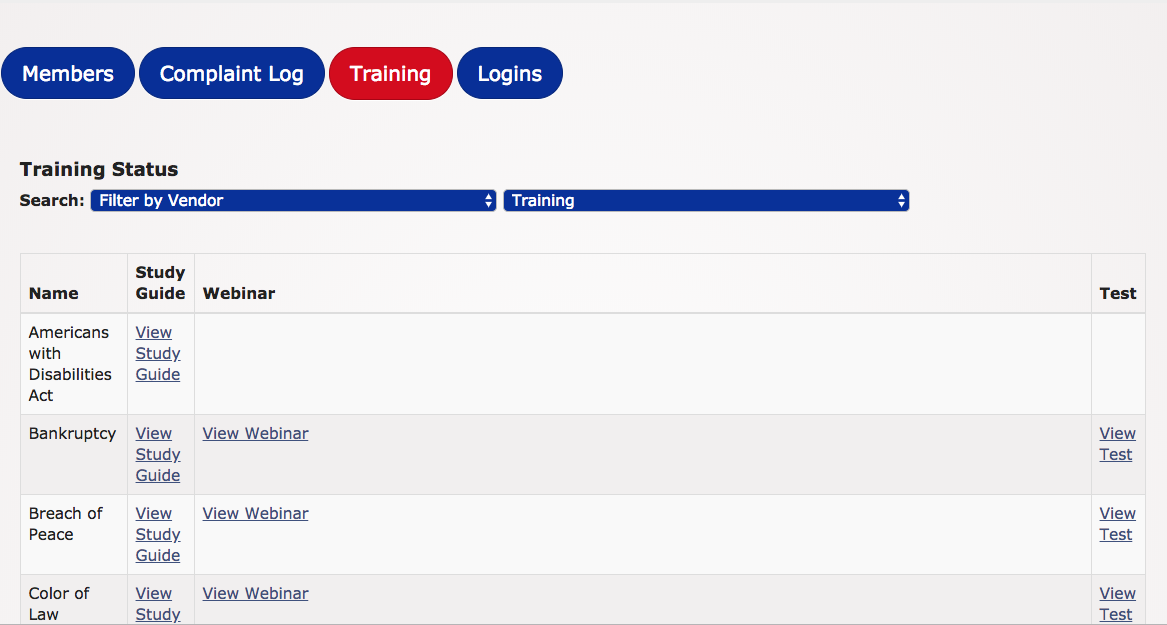
In the “Training” area, you will receive a comprehensive look at not only your training status, but you can review your entire company’s base of employees to see what tests they have taken. In the “Training Status” search filter, you can filter by vendor or training progress. When filtering by “training,” this will display the training you have yet to complete. When filtering by “Training log,” this will display the tests you have already taken. As an administrator who represents your company, we encourage you to take all available tests.
Step 5. View Study Guide
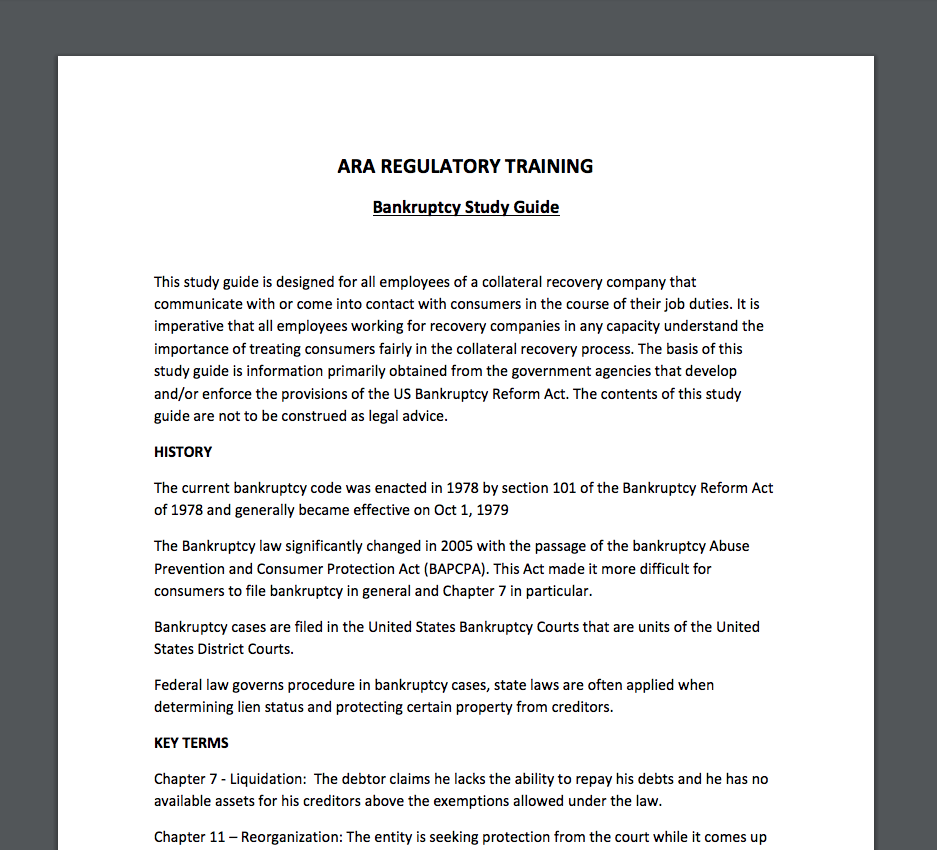
Let’s pretend you need to take the test on Bankruptcy, as shown above. You can start reviewing the information provided in the resources shown above. This is the same information you will be tested on later, so start by clicking “View Study Guide“. This will take you to another page, where you will see a PDF document that lays out important information.
Step 6. Watch Topic Webinar
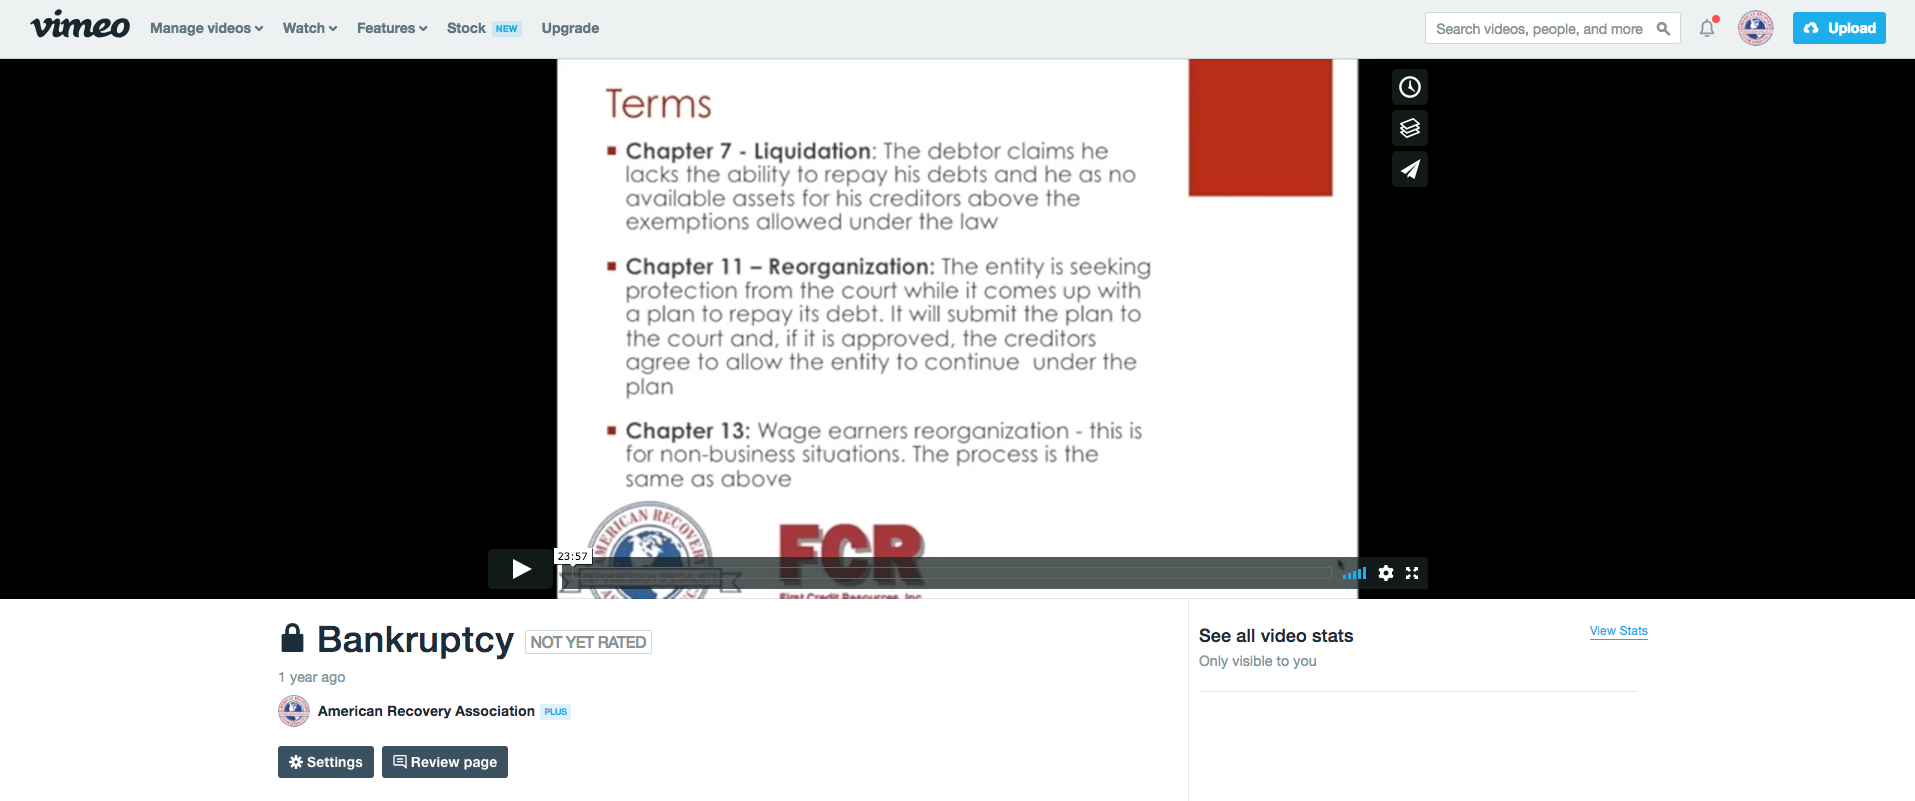
Another helpful resource are the instructional videos that go in-depth and provide additional information on each topic. By clicking, “View Webinar” you will be taken to a new web page where you can watch the webinar.
Step 7. Start Taking the Test
Once you feel prepared, you can begin testing. Once you have answered all 10 questions, you can submit your answers. You must correctly answer 8 out of 10 questions to pass each test. You may take the test as many times as you need, but on the third failure, you’ll be logged out of the CCRS system for a 24-hour period.
We hope this information was helpful. Please reach out to us if you have any further questions on the ARA Compliance System or the CCRS certification.